
This might be the best thing you can learn about flowers - tie your bouquet in a spiral shape. It looks beautiful and the flowers form a nice shape together.
When making spiral-tied bouquets, the
the stems overlapping, like a spiral. The opposite is, for example, a bunch, where the flowers are placed with the bloom up and the stem straight down.
When the bouquet is built this way, it's easy to use many flowers without them being pressed together or standing too close. It's also easy to move flowers around, change, and add stems if needed.
Making spiral-tied bouquets can be a bit tricky. But practice makes perfect and the right technique in your hands. Challenge yourself and practice with different kinds of flowers each time. Visit your local florist for help.
PREPARATIONS
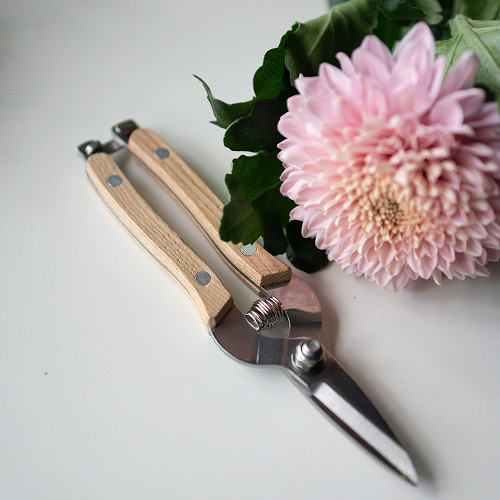
1) Gather materials:
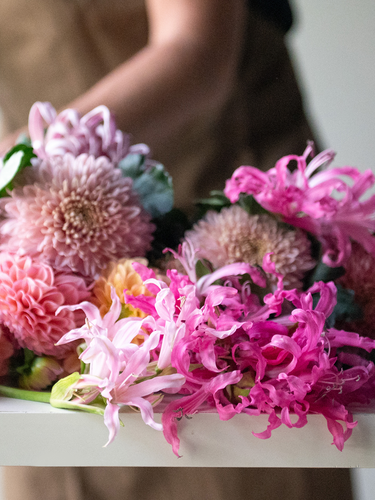
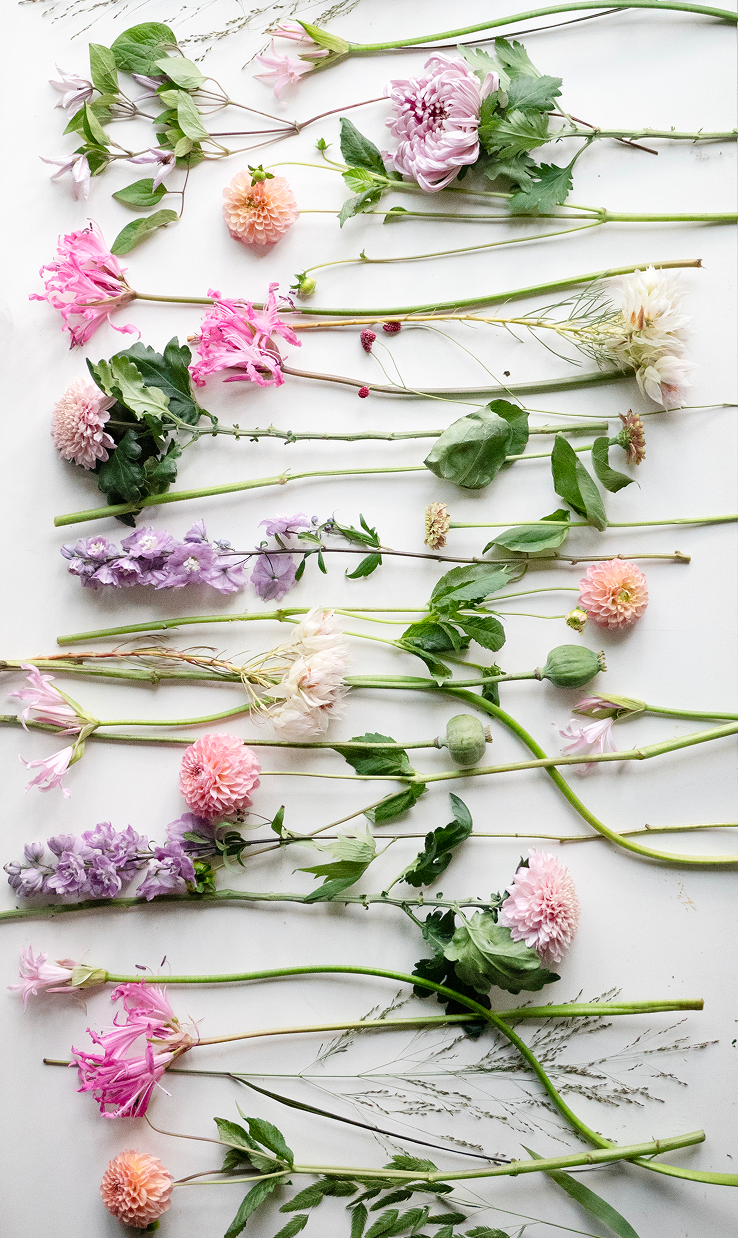
Pick or buy the flowers and greenery you want to use. Work with large, full flowers in contrast to small ones to create a dynamic and lively bouquet.
Here we have chosen a pink Nerine to be the focal point and set the tone and expression of the bouquet, and a Dahlia that enhances the color scheme.
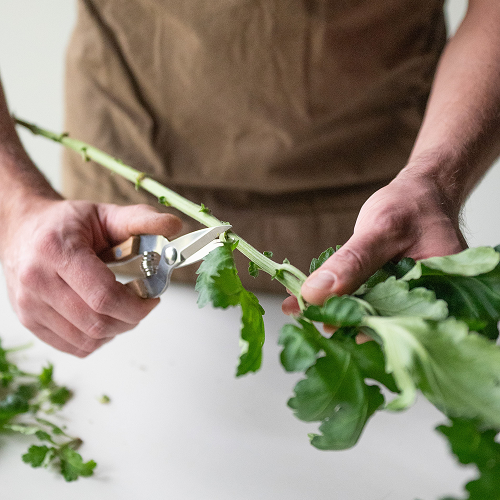
2) Clean the stems:
Remove all leaves that will be below the waterline in the vase to prevent bacterial growth. This will make your bouquet last longer.
3) Cut the stems: Make a fresh cut on the stems with a sharp knife, preferably at an angle, so they can absorb water better.

BUILD YOUR SPIRAL
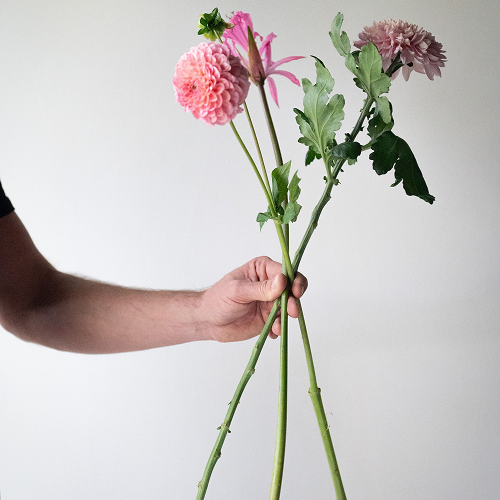
4) Choose a stem you want to start with and hold it straight up with your left hand.
5) Place the next stem with the flower head
to the left of the original stem so that a cross is formed.
6) Place the third stem to the left of the other two, so you start a spiral. Try to keep the bouquet as soft and relaxed as possible.
7) Then place the next stems in
the same angle as the first ones and rotate the bouquet clockwise with each new flower.
It's hardest to get it right at the beginning, then it gets easier as it fills out in your hand
END
8) Bind
When the bouquet is ready, keep your firm grip and wrap a string around the waist a couple of times. We find it easier to tighten the string properly if you place the bouquet against the edge of a table for support. Tie it.
9) Cut
Cut the stems so that they are the same length and fit the vase you intend to use. Then cut them across with a sharp pruning shear so they absorb water better.


OUR FAVORITE VASES


